Wednesday, January 2, 2013

A Shelf-Full of Love

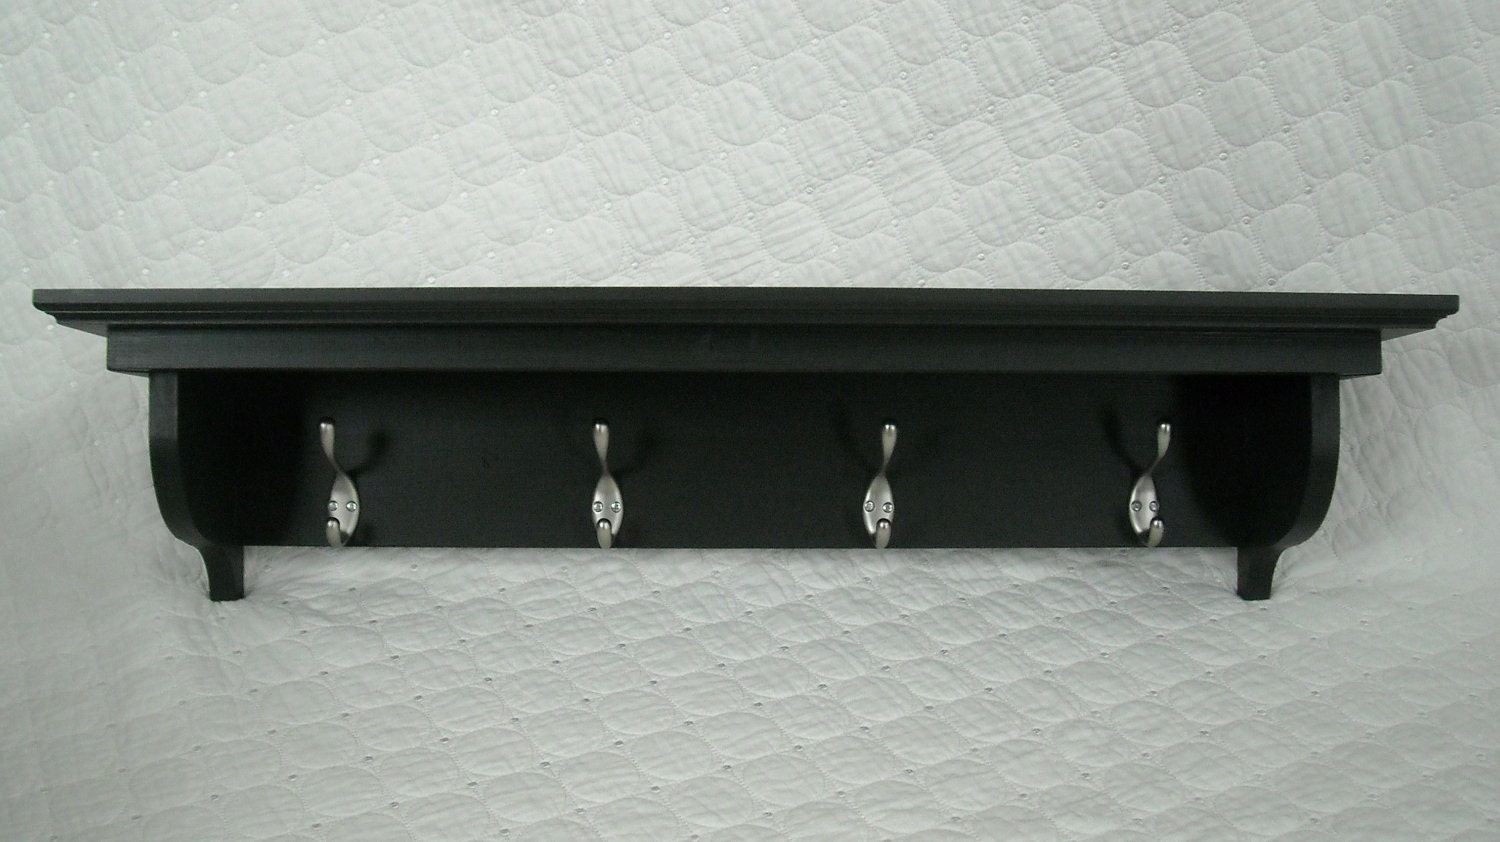
Last year, I decided to get rid of the builder grade shiny, cheap looking, metallic (You know the one?) towel rack in our master bath. I didn't want another towel rack, but we needed something to hold our towels, so that we weren't running across the bathroom soaking wet and freezing cold to the hook on the back of the bathroom door! 

I had purchased a shelf a while back (on clearance, b/c that I what I do best!), similar to this one:  


It was just sitting in my garage, with no home. I found it on clearance, liked it, and brought it home thinking, "One day I will find a place for this." (I seem to have a collection of things like this. Anyone else do this?)

Needless to say, my shelf had found its place in our home. But something wasn't right. I sanded it, just to rough up the shiny finish, and then painted it with my leftover paint from when I'd painted the cabinets in the master bath, (another story for another time), and my hubby hung it for me. 


I love it's functionality, as well as the white on my Sherwin Williams Upward Blue walls. What I love best of all, is that the most expensive part of the whole project was the towel! 


Here's the breakdown: 

Tuesday, December 4, 2012

Subway Art

Living in the South, But Part of My Heart is Still in NYC


Our living room has been a work in progress for 8 years now. We've had some ups, mostly downs though with it. We should have bumped the room out to make it larger. We should have had a fireplace put in. At the time we were building, we had reasons, good reasons, for not doing these things. Oh, hindsight. 8 years later, here it is. I'm learning to work with the room and am trying to make it a place that is everything I want in our home. 

So we have this large wall that the sofa sits against. (I love the comfort factor of the sofa, but the color and size are not right for what I have in mind for this room. For now, it will be though.) Did I mention it's a big wall? I've rearranged this room more times that I can remember, and have had various artwork hanging. 

I think I finally found something that I love and brings me joy!
But the empty wall over the sofa was making me crazy!!

I had found a photo online of subway art of NYC (We are from NY, living in the south now.) I fell in love with it, but not the price tag so much. So I did a little looking and discovered I could potentially make my own.

Here are the steps I took. 

1) I bought a piece of plywood from Lowes for $16. It's 2 x 4 ft. 
2)I painted it with the left over paint I had from the cabinet seen in picture above. (Tip: Whatever color you want your writing to be, paint the board that color.) 

3) I printed out the words that I wanted to use. I chose this font: Adobe Heiti Std R 

4) I laid all of my words out on the board to get an idea of what it would look like. This took some rearranging and I reprinted a few words, as I found I wanted different sizes for some as I laid them out. 

5) Next came the Easy-Tack Spray adhesive (2 photos above) and contact paper. I sprayed the clear side of the contact paper with the spray adhesive and set the paper words onto it. Essentially, this turns your paper into a sticker. 

**Note: It's a good idea to take a picture of the board when you have everything laid out, just in case...

6) Then came the cutting. There was a lot of cutting! Each letter had to be cut to shape.

7) Once the letters were cut out, I went to work measuring and lining the letters up. Once they were in the right places, I simply peeled the backing of the contact paper and put my "sticker" on the board. Be sure to smooth it down, so that minimal paint gets underneath.

8) I took the board outside and sprayed with black spray paint. I waited about 1/2 hour and went to work removing the stickers and soon had my very own artwork! I still need to have DH hang it this weekend. 
But here it is right after I peeled the letters off!  


I have to say I was worried that I was wasting my time while I was cutting letters out for 3 straight evenings once the kids were in bed. But I am thrilled to pieces that it came out as I'd envisioned!

So for about $25, I was able to make this subway art for our family room wall. When DH and I dating and engaged, we lived on Long Island and I worked in Midtown Manhattan. 


I love this piece of art because each word that I put on the board has a special meaning to us, whether it was the street that I worked on, where our first date was, or just places that we spent time together.

The room is still a work in progress (and I think it always will be at this point-lol), but here it is with my new wall art. 

Any suggestions? Crown molding is on the list...as is a new sofa (or at least a sofa cover).


Wednesday, November 28, 2012

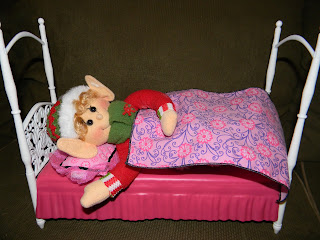
Mischievous Elf (Our version of Elf on the Shelf)

Last year, after Christmas, our 10 year son figured out the ins/outs of Christmas. He was a little disappointed, but we assured him that it is just as special to be on "this" side of the fun. So together, we decided to join in on the Elf on the Shelf fun for his younger sister.

I set out to buy the elf, and then found this sweet little elf at Kirklands (love that place!), for $9.99. What a bargain! So one evening we snuggled up at Books A Million (love that place too!), and I read the story to our children.

The fun has begun! 

Day 1


Meet Jingles Bella! This was her first night with us. She roasted some marshmallows. 
Here is the letter she left. I found a similar one on Pinterest


Day 2
Jingles has a fun sense of humor. 
She "decorated" a photograph (dry erase marker on the glass that wipes off easily)! The kids loved it! 


Day 3
Jingles helping with the scarf I'm knitting. 


Day 4
Jingles made the kids' lunches! 

Day 5
Best way to get rid of leftover Halloween candy! 

Day 6
Sleepy Jingles...

Day 7
Snow Angel


 Day 8
Jingles brought the kids "fresh out of the oven" donuts!


Day 9
 Singing along with Frosty 

Splish-Splash Jingles

 Day 10
Jingles left the kids' a message, telling them how excited she was for Christmas to come!
(She used a bar of soap-which wipes off really easily.)

Day 11
Anyone up for a rousing board game and snacks?

Day 12
Fishing for Goldfish crackers.


 Day 13
 Ice-Skating in the Freezer

Day 14
Life-guarding Chair

Day 15
Reading a Christmas story

 Day 16
Jingles got a set of wheels!

Day 17
Jingles is a Wise Woman? 

Day 18**
**Ok, so we didn't actually do this one, as it appears, but it was too funny to not share! Jingles had been innocently looking into the fish bowl (chatting with our goldfish, named "Sushi"), and another elf in our house, who will remain nameless, came along and added some props, which were promptly put away (right after snapping a quick picture), and long before our little ones found Jingles in the morning! 

I still have a few pictures to upload for Days 19-22. :) 

Day 23
Santa reading to Jingles and all of the other Santa's (and to the donkey??) at Grandma & Grandpa's house. 


Day 24-Christmas Eve
She so desperately wanted to hold Jingles and wanted to know if her bell really rang, so on Christmas Eve, Jingles left a note to say goodbye to the kids, and to tell our daughter that she could hold and play with Jingles for 15 minutes that day. That sweet girl set the timer and danced, and played, talked to, sang to, and hugged Jingles for the full 15 minutes. She gave her a kiss and placed her back in her spot.

Until next year...


Thursday, April 19, 2012

Almost There...

We are almost there...

Once the counters were installed (the granite on the island took 4 men to carry it in--it was about 800 lbs!), we started feeling like we could see the the light at the end of the tunnel...or at least we could start to put the first floor of the house back to normal again and begin to cook meals at home.

There is still a good amount to do (bar stools/pendant lights/knobs for cabinets/final coat of paint on some of the island cabinets/etc), but here it is at this point:


Details so far:
Cabinets: Painted SW Snowfall White
Granite: Fiesta Gold
Floors: Old World Distressed Hand-scraped Hardwood Oak-4 3/4 in planks
Walls: SW Macadamia
Faucet: Delta


Thursday, April 12, 2012

Cabinets and More


Both sides of the island mostly framed out now. 


We have floors and can envision what it's going to look like when it's done! 

Before (with old floor mostly torn up) and After  ~  Half Bathroom 


Family Room--somewhat coming back together. Yes, the rug is too small--it used to be under the kitchen table, but I needed something in the room until I find a rug I like, to keep the dog from running and sliding!  

Kitchen with a floor! 


Floors are in!

We spent countless hours debating and researching floors. I wanted hardwood. Hubby thought laminate was the way to go, b/w kids and a dog. In the end, he was somehow convinced that HW was the way to go. We both agreed on a distressed, wide plank, hand scraped, dark wood and I love it!


Windsor Oak Dark Handscraped--from Lumber Liquidators


In this pic, you can see the peaks and valleys, so to speak, in the floor. Our hope is that this will help to hide any imperfections that will inevitably arise in the coming years! 


Our contractor pointed us in the right direction with regard to shoe molding. It was going to be about $250 from LL and in 8 ft sections. He purchased ours from Home Depot in 16 ft sections (less cuts needed) for $45. Winner! We used the better underlayment from LL, which has a good sound barrier. That was worth the extra $$ for sure! 


Monday, April 9, 2012

On the move...and seeing progress!

Progress...what a blessed word! After seeing into my cabinets (they seem organized enough when the doors are closed), for a week or two, the primer and two coats of paint (SW Snowfall in Pro-Classic Satin) had dried, it was time to hang the cabinet doors again! 


Yes, I know that a cabinet is missing. And the counters are gone. And yes, there are lots of holes in the drywall. And the floor is a sub-floor. And yes, I have bottom of the line GE appliances. The microwave is on its way out. The stove and fridge seem to want to be part of the adventure for longer than I'd hoped...but they work and serve their purposes, so I will not be wasteful! One day, when they are gone, I will replace them with stainless steel (in look only) appliances. One day...but until then, they will be part of the renovation. :) 

But the good news is that the cabinets are painted and back up! 

So the knobs...I love ORB and Nickel finishes. But having been raised by a dad who grew up in the Great Depression, I thought I'd give this a whirl. I'm not loving them, but for now, they will stay. 


One coat of Black, followed by one coat of Silver.

They started off a gold-ish color. It's an improvement anyhow...


Now the fun begins!
We have a fabulous contractor, who came in and demo'd the wall that I hated! They tore up the floors, and ran the plumbing and electric through the floor (as our basement is finished--by the same fabulous contractor), and reset the sink temporarily, so we could have running water through the renovation. Then they began to build out the new island, incorporating our old small island on the left hand side and adding cabinet space you see below! 


It was a dusty few weeks, not to mention, making breakfast for the kids before school was toaster waffles on a little table in the family room most days! 


And a place for the garbage to be hidden! 

Stay tuned...more to come!